In the world of music production and content creation, lighting is often an overlooked yet crucial element.
The right studio lighting can enhance the visual quality of music videos, livestream performances, and promotional content, making a significant difference in how your audience perceives your work.
Whether you are a budding musician, a seasoned artist, or a music producer, understanding how to choose the right studio lights can elevate your content from ordinary to exceptional.
What It Means
Studio lighting refers to the various artificial light sources designed to illuminate a space for photography, video production, or live performances.
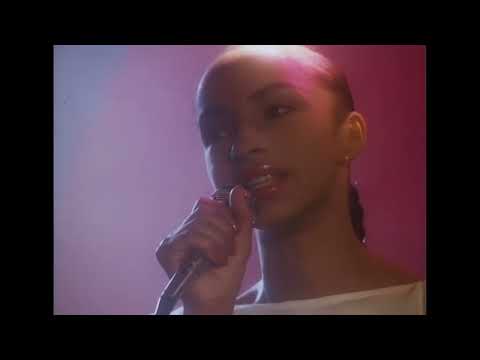
For content creators in the music industry, effective lighting can highlight your personality, set the mood, and create a professional aesthetic that resonates with your audience.
For example, think about iconic music videos like "Thriller" by Michael Jackson or "Blinding Lights" by The Weeknd.
Both utilize strategic lighting to enhance their storytelling and create a captivating atmosphere.
The right lighting can evoke emotions, making your audience feel more connected to your music.
Practical Tips & Techniques
Here are some practical tips to help you choose the best studio lights for your content creation setup:
- Determine Your Lighting Needs: Before investing in studio lights, assess your specific needs.
Are you shooting videos, live streaming, or taking promotional photos? Knowing your primary purpose will help you narrow down your options. - Choose the Right Type of Lights: There are several types of studio lights available, including:
- LED Lights: These are energy-efficient, long-lasting, and produce minimal heat.
They are perfect for extended sessions and can be easily adjusted for brightness and color temperature. - Softbox Lights: Softboxes diffuse light, creating a soft, even glow.
They are great for eliminating harsh shadows and are ideal for close-up shots. - Ring Lights: Popular among vloggers and beauty influencers, ring lights provide a flattering, even light that highlights facial features.
They are especially useful for makeup tutorials or intimate performances. - Consider Lighting Placement: The placement of your lights matters significantly.
A three-point lighting setup (key light, fill light, and back light) is often recommended for balanced illumination.
Experiment with angles and distances to find what works best for your space. - Invest in Dimmer Switches: Being able to adjust the intensity of your lights is key to achieving the desired atmosphere.
Dimmers allow for flexibility, enabling you to create different moods depending on the song or scene. - Think About Color Temperature: The color temperature of your lights can affect the overall vibe of your content.
Warmer tones (around 3000K) create a cozy, intimate feel, while cooler tones (around 5600K) evoke a more clinical, professional atmosphere.
Common Mistakes to Avoid
Even experienced content creators make mistakes when it comes to studio lighting.
Here are some common pitfalls and how to avoid them:
- Ignoring Natural Light: While artificial lights are essential, don’t underestimate the power of natural light.
Use windows to your advantage by shooting during the golden hour for a warm, flattering glow. - Overlooking Shadows: Harsh shadows can detract from your videos and photos.
Ensure your lighting is evenly distributed to minimize shadows on your face and instruments. - Neglecting Background Lighting: The background of your shot is just as important as the subject.
Consider using colored LED lights or spotlights to add depth and interest to your background. - Using Too Many Lights: More lights don't always mean better quality.
Sometimes, too much lighting can create an unnatural look.
Start with a simple setup and add more lights only if necessary. - Failing to Test Your Setup: Always do a test run before going live or recording.
Check how your setup looks on camera and make adjustments as needed.
Final Thoughts
Choosing the right studio lights for your content creation setup can seem overwhelming, but it doesn’t have to be.
By understanding your needs, experimenting with different types of lights, and avoiding common mistakes, you can create a visually stunning environment that enhances your musical artistry.
Remember, lighting is not just about illumination, it's about creating a mood that resonates with your audience.
So, take the plunge, invest in quality lighting, and watch your content transform into a captivating visual experience!